Grandi Lastre

MAXI SIZE 120х278

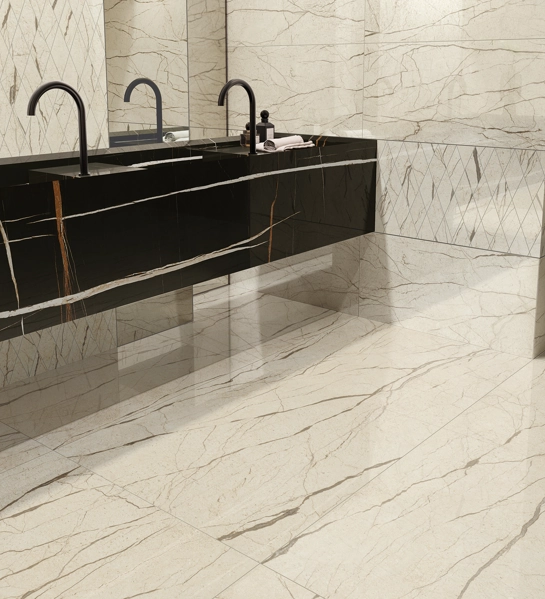
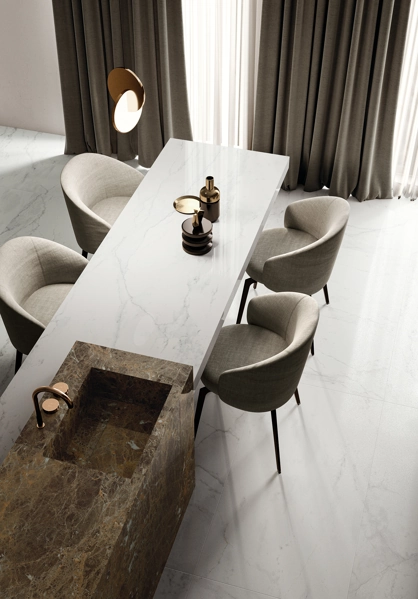
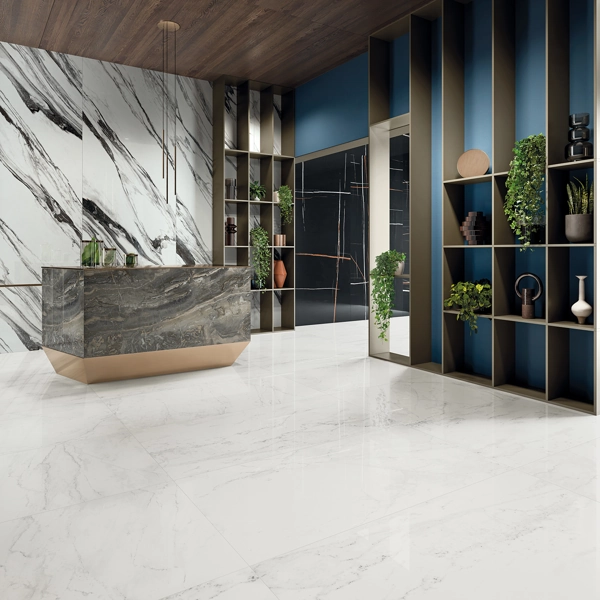
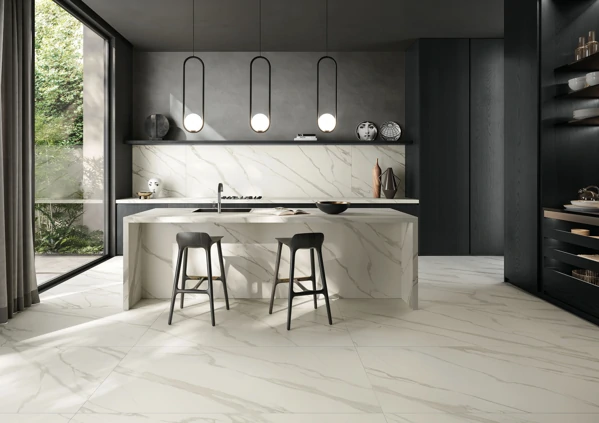
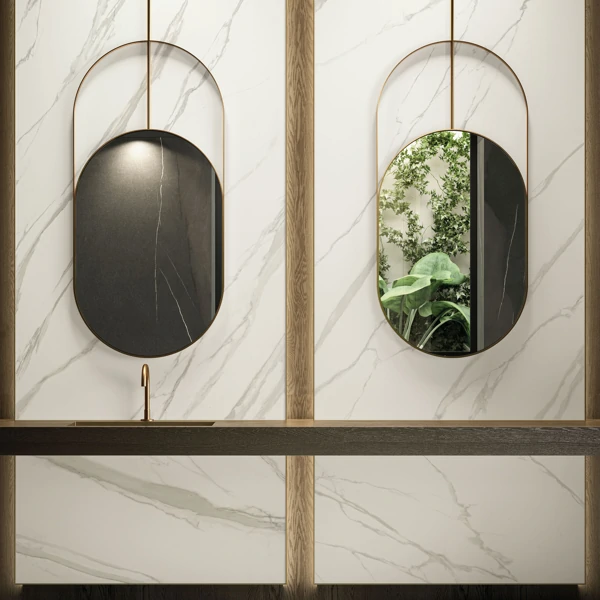
Maxi-size porcelain stoneware is one of the hottest trends in interior and exterior design. Already available in the Italon range, they are entering the forefront of modern architecture. Such porcelain stoneware is getting more and more popular in the interior of kitchens, bathrooms, bedrooms or living rooms.

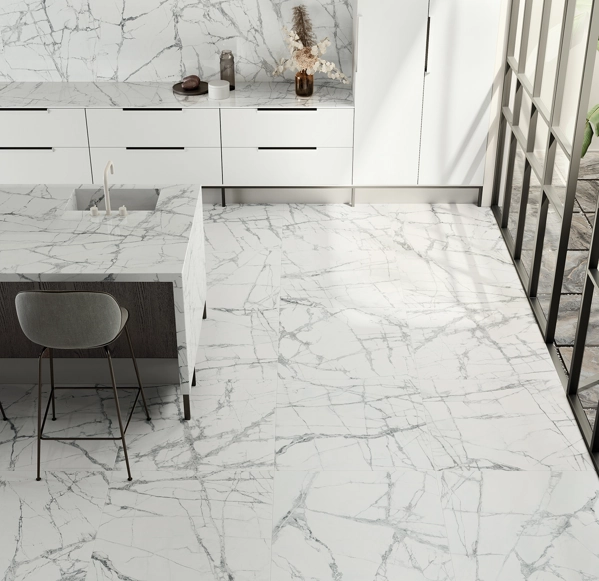
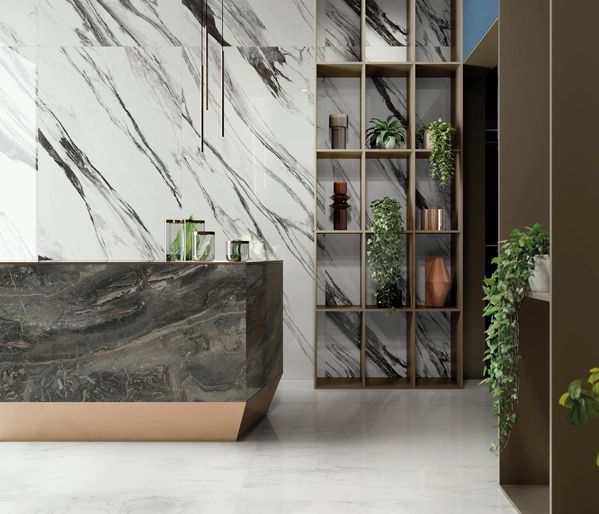
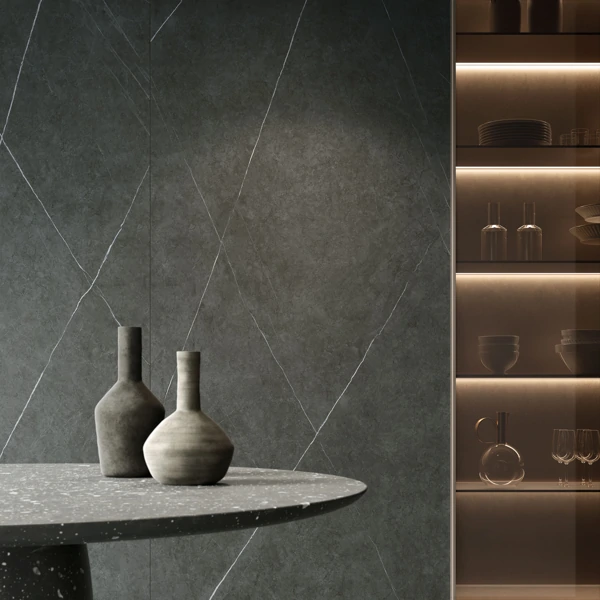
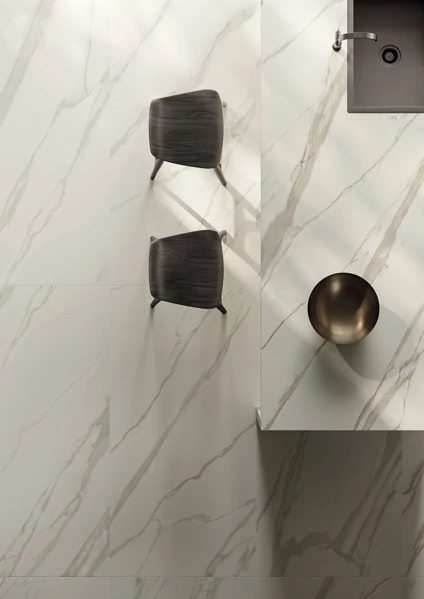
The maxi-size, 120x278, increases the possibilities of using porcelain stoneware. It allows you to embody the most daring and non-standard design solutions. The 6mm thickness is ideal for wall-mounting, great for furniture and door facing, works on tabletops and bar countertops. Also, porcelain stoneware in the 120x278 size is excellent for facades. Maxi-size slabs of porcelain stoneware are the most realistic and detailed when it comes to reproducing graphics of a variety of materials such as marble, stone or concrete. And the high technical characteristics of porcelain stoneware guarantee the most durable and safe surfaces.

Please note that the specifics of working with the maxi-size 120x278 should be discussed at the stage of the design project. Important details that affect the installation quality must be taken into account. For example, the availability of the necessary space for maneuvering and tile treatment, the necessary tools for proper transfer and storage. And it is also very important to hire highly qualified professionals who are experienced enough to work with this size.

PACKAGING AND TRANSPORTATION

PACKAGING AND TRANSPORTATION

  1. Visually check the integrity of the packaging and tiles.
  2. Wipe the surface with a damp cloth to remove dust and wax.
  3. Before you start working, make sure that there is sufficient working space to maneuver the porcelain stoneware. For working with the maxi-size, always hire highly qualified professionals who can guarantee a flawless result.
  4. For transportation, it is recommended to use specialized carriers with vacuum suction cups. Be sure to constantly monitor the working pressure in them.
  5. The weight of one 120x278 tile is more than 50 kg, so at least 2 people are required to move the tile. During transportation, avoid deformation of the tile: do not twist and bend it, since it can cause microcracks in the body of the tile.
  6. If maneuvering is carried out indoors, the corners of the slab must be protected with special corner guards.
  7. Before starting to work with a tile, be sure to check the markings: tone, grade, caliber.
  8. Tile storage can be organized at:
  • Specialized tables
  • Pyramids
  • At the wall on the longer side of the tile on a shock absorber joint.

MECHANICAL PROCESSING

MECHANICAL PROCESSING

Switches, sockets, water tank mounting boxes, wire outlets to name a few of the things that require the creation of holes in porcelain stoneware. For the best quality result, it is necessary to know and follow the important rules for the mechanical processing of slabs.

Mechanical work with porcelain stoneware requires strict adherence to safety measures such as ​​the use of protective glasses, gloves, headphones, respirators, protective covers for the tool. All operations must be carried out in strict accordance with the recommendations and instructions of the manufacturer.

Mechanical processing of 120x278 slabs (edging, bevel cuts, rectangular or round holes and L-shaped notches) must be done on specialized tables. Use table spacers to make holes or L-shaped cutouts. To avoid tile damage, use masking tape and a pencil for marking. Set the direction of the overall pattern if necessary.


LINEAR CUT

  1. For long linear cuts, use a professional tile cutter.
  2. Perform a cut in one pass to minimize chipping.
  3. Use specialized tools for breaking. This job requires a minimum of two people.

CUTS AND TREATMENT

CUTS AND TREATMENT

EDGE TREATMENT

  1. After cutting, be sure to grind the edge with sanding stones to remove sharp edges.
  2. Use diamond grinding discs/pads with different grain sizes if necessary.

BEVEL CUTS AT 45 °

  1. For the bevel cuts, it is recommended to use a special nozzle for angle grinders. For a high-quality cut, only use discs specifically made for porcelain stoneware.
  2. When performing a bevel cut at 45 °, it is necessary to step 1.5-2 mm back from the face of the tile.

L-SHAPED CUT

  1. Make a hole in the corner with a round diamond bit. This is necessary to remove the stress that may arise inside of the tile when cutting with a diamond blade.
  2. Shorter cuts could be done with a diamond blade.
  3. Longer cuts are better to cut with a specialized tile cutter for maxi-size. To minimize chipping, the cut must be performed in one pass.
  4. Use specialized tools for breaking. This job requires a minimum of two people.

ROUND HOLES

  1. Make measurements of the required holes.
  2. Mark the hole sizes on the tiles using masking tape and a pencil.
  3. Round holes are made with wet diamond core bits.
  4. After making the holes, try placement before applying adhesive.

RECTANGULAR HOLES

  1. Make measurements of the required holes.
  2. Mark the hole sizes on the tiles using masking tape and a pencil.
  3. Make holes in the corners of the future rectangle with a water-fed drill using a round diamond bit. This is necessary to remove the stress that may arise inside the tile when cutting with a diamond blade.
  4. Make cuts between the holes with a diamond blade.
  5. After making the holes, try placement before applying adhesive.

BASE AND ADHESIVE MATERIALS

BASE AND ADHESIVE MATERIALS

The 6mm thickness is as good for regular wall-mounting as for truly extraordinary ideas. For example, for the manufacturing of porcelain stoneware kitchen countertops that are so popular today or for sink countertops. It also could be used for facing cabinets, tables or making a bar countertop.

For the installation of maxi-size tiles on the wall, the base must be carefully prepared. For a high-quality result, it should be even, clean, dust-free, mature, without cracks. Also, for laying maxi-size slabs 120x278, it is necessary to use highly deformable adhesives for porcelain stoneware class S2, you must strictly follow the instructions from the manufacturer and observe the correct technique for applying adhesive.

  1. Work with the maxi-size requires the technique of double application of adhesive: both on the base and the back of the tile. Note that the adhesive must be applied in the same direction to both the base and the tile, always parallel to the short side of the slab. This provides the smallest air outlet from under the slab.
  2. Apply the adhesive thoroughly to the base, spread it with a notched trowel parallel to the short side of the tile. There is a rule on how to choose the right pair of trowels for the adhesive. The sum of the height of the notches on the trowel for the base and the trowel for the tile must range from 14 mm to 16 mm. For example, one is 10 mm and another is 6 mm, or 10 mm and 4 mm, etc.
  3. Avoid irregular hollow surfaces when applying adhesive. The entire surface must be covered with adhesive. This will ensure the best possible laying result and reliable exploitation.
  4. Transfer the large tiles next to the section of the wall to be installed.
  5. Using a notched trowel, spread the adhesive along the back of the tile parallel to the short side.
  6. The tile is ready for installation.

INSTALLATION OF SLABS

INSTALLATION OF SLABS

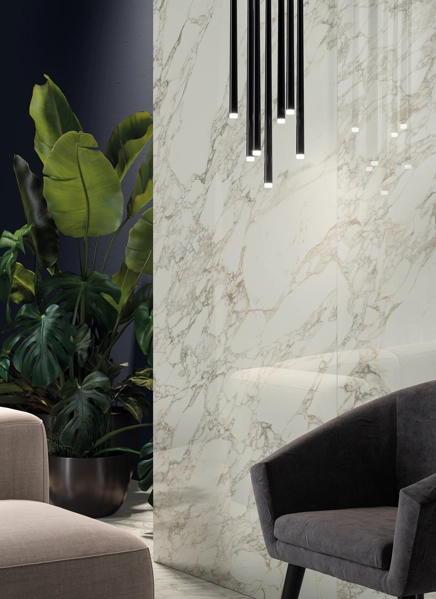
An important advantage of the 120x278 maxi-size is that it is easy to achieve the effect of a monolithic surface when laying it.

You only need a few slabs to create a spectacular finish that will brighten the living room TV area and become the center of attraction of the interior.

They look much more impressive than regular tiles.

  1. With the use of a special carrier, two people can mount a tile.
  2. Press it firmly against the base. Please note that a gap of minimum 2 mm must be left between the slab and the floor.
  3. Lay the tiles with at least 2 mm gaps between them.
  4. For best results, align adjacent tiles with a TLS.
  5. Use special tools to remove excess air from under the tiles. This can be done manually with a special device, moving along with patting movements from the center to the edges. Alternatively, you can use a tile vibration machine that will distribute the adhesive evenly over the entire surface and remove air from under the slab (recommended).

APPLICATION OF EPOXY GROUT

APPLICATION OF EPOXY GROUT

All operations must be carried out in strict accordance with the recommendations and instructions of the manufacturer.

  1. Carefully measure out the grout components and mix them together until smooth.
  2. Fill in the joints with a rubber trowel.
  3. Remove excess grout.
  4. Perform initial surface cleaning with clear water and a mop.
  5. Remove any remaining grout marks with clean water and a cellulose sponge.
  6. If necessary, use specialized detergents to remove grout marks.

A Full Range of Maxi Size Tiles

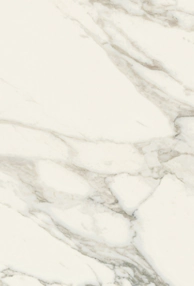
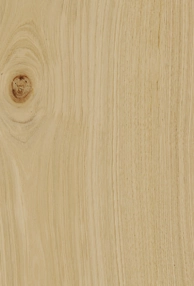
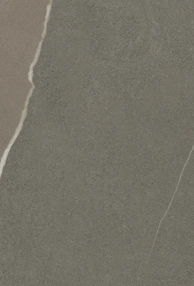
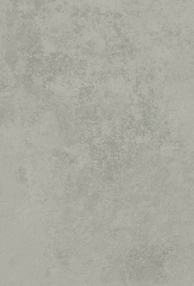
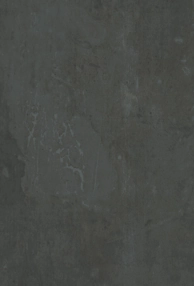
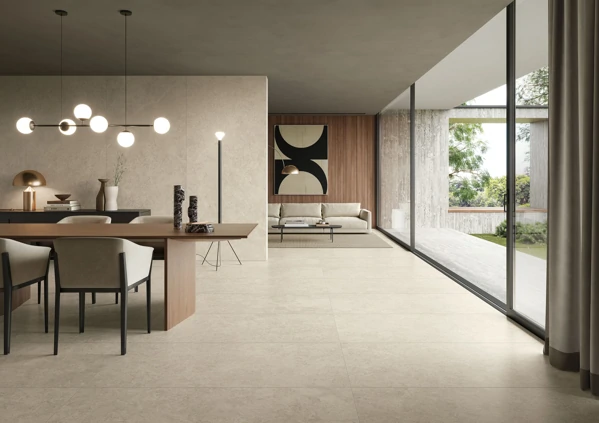
Italon currently offers a maxi-size 120x278, 6mm thick, in 13 colors. 10 of them are marble effect tiles in glossy Lux finish, and the remaining three shades are concrete effect porcelain tiles in matt finish.